Modeling Tutorial: Movement Trays
I recently played a game with my new Skaven models. The Hell Pit Abomination and Screaming Bell performed pretty well and even survived the battle, securing me the victory. One of the things I discovered during the game is that moving around a horde of Stormvermin with a Screaming Bell is a pain without a properly-sized movement tray.
I've been playing Warhammer for years, and use the older style of GW movenent tray. You can't get them anymore (they really aren't large enough enough for a 10 x 6 man unit anyway) and I don't care for the grid on the surface of the newer trays. So, I'll need to scratch build new trays to match my older ones. This is the opportunity to put together a tutorial for making movement trays!
The old GW trays are as unobtrusive as possible, only adding about 1/8 inch to the edge of the unit. (One of my pet peeves is when people make movement trays with borders that are 1/4 inch or thicker.)
To match that sizing, I use .060" (1.5mm) thick sheet styrene and .080 x 1.88" (2.0 x 4.8mm) styrene strips.
First, estimate the width you'll need for the card. This sheet is almost perfect for the frontage of this unit; only a little will need to be trimmed off of the side in the later steps.
Super glue (you could also use plastic cement, since this is styrene plastic) a rail to the front edge of the card. Glue it to the outer edge, flush with the bottom (not on top of the card). Leave a little overhanging the corners.
Now, place the entire unit in the tray to measure the rest of the fit. I prefer to use the physical models rather than measurements because there are always imperfections that wind up making the tray too tight or too loose. Be sure the glue on the rail is completely dry so you don't get any on the miniatures' bases. Square up the unit against the front rail and flush with one edge. Then mark and trim the excess on the opposite side. Don't make it exact; be sure to leave a little wiggle room.
Mark the back edge of the unit (plus a little wiggle room) and then cut the card using a straight edge.
Glue the side rails onto the card. They should but up against the overhanging rail on the front.
Trim the overhanging excess with a hobby knife.
Trim the excess at the back, as well.
Then, glue the final rail on the back of the card.
Trim the excess and it's nearly complete. If you don't mind the square edges and don't texture your movement trays, you could call it done and move on to painting. Otherwise, I'll show you how to bevel the edges and texture the tray.
To bevel the edge, use a heavy grit sandpaper (220 is about right). Hang the tray over the edge of the table and sand away. Only sand the outside and keep the inner edge square. Keep the sanding under control so you don't scratch up the bed of the tray.
The result is a beveled edge that tapers a little narrower at the top. The outside also has a nice "tooth" that will allow the glue and sand to adhere a little better.
At this stage, I make one final check to be sure the unit fits. The sides are near perfect and there's about 3/32-inch gap at the back, which is fine, and will allow for the odd model that doesn't rank tightly with the one in front of him, pushing things back just a hair.
Texture the edge with sand or ballast. I use super glue to ensure the ballast doesn't come off and so that it dries immediately. Waterproof wood glue would be fine, but you'll need to allow more drying time and take care that the sand doesn't get knocked off. When working with the super glue, take care not to let any seep inside the tray, or you'll wind up with sand gumming up the corners.
Once the sand is in place and the glue dry, scrape the bottom edge with your knife to remove any sandy burs that would snag on the table when pushing your unit across the battlefield.
That's it! All that remains is the painting.
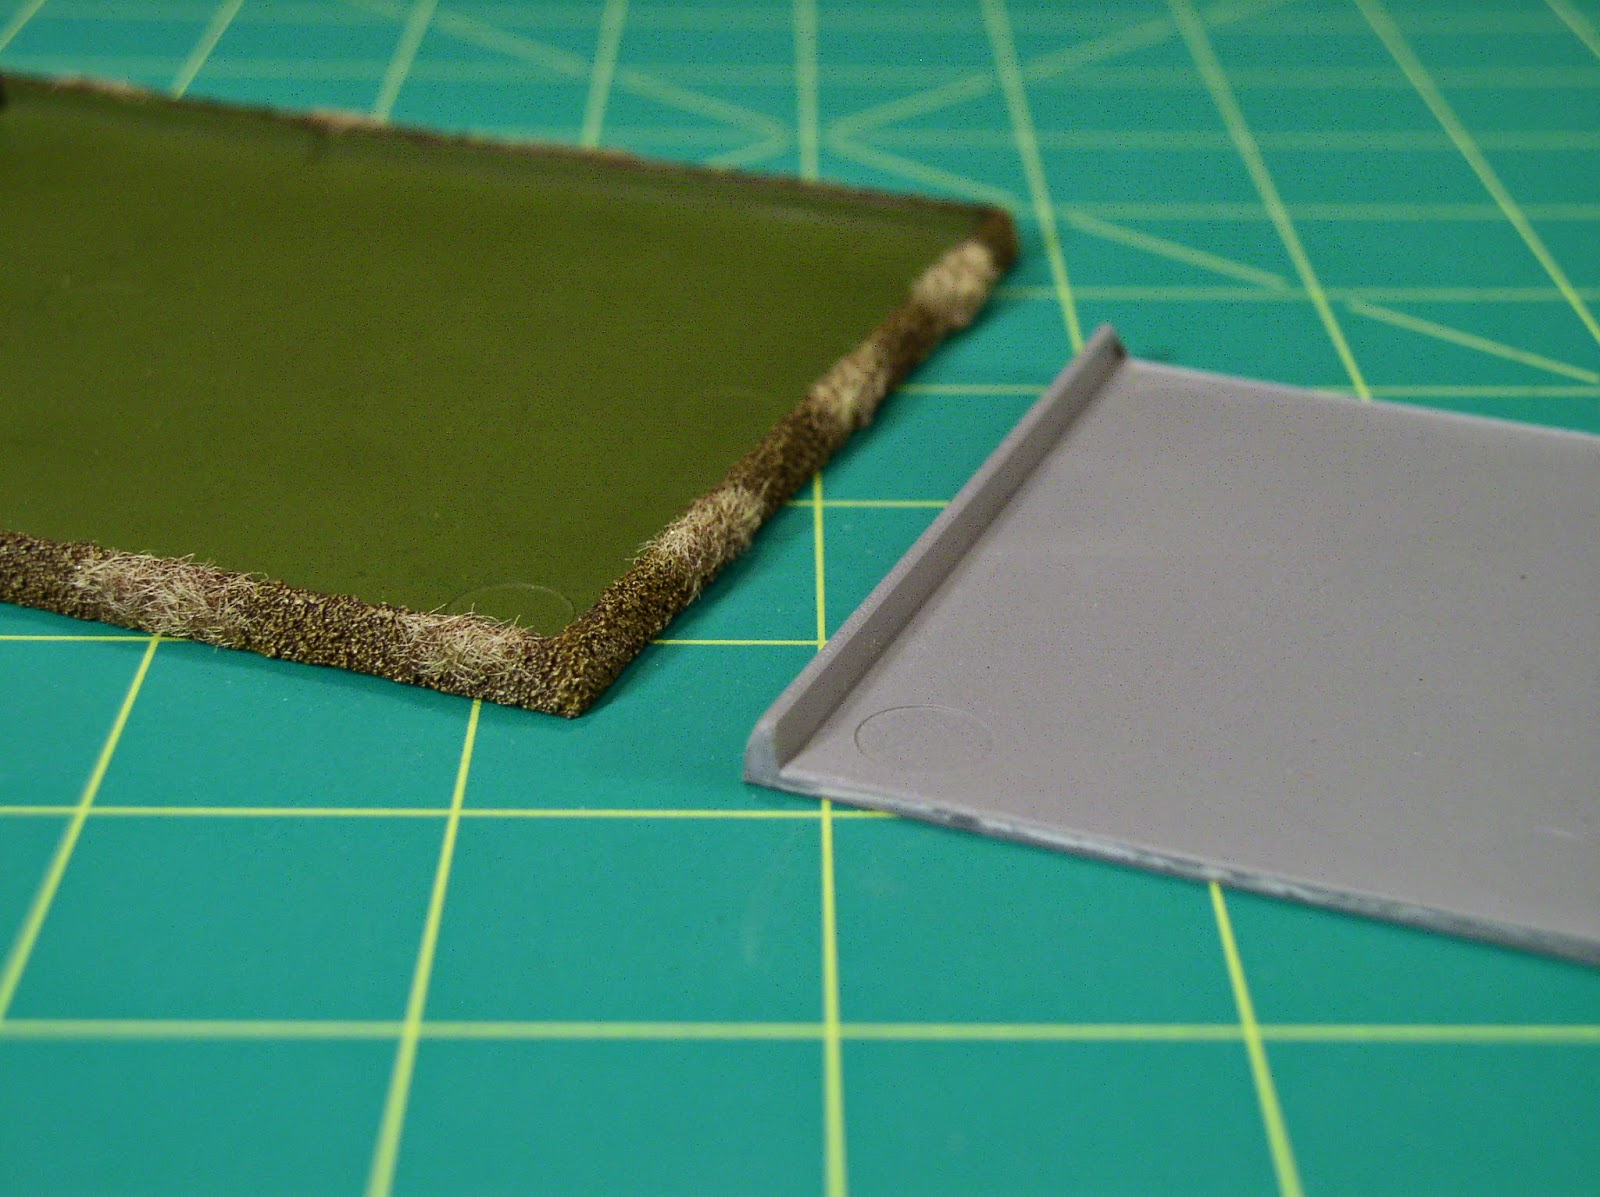
Prime the tray and spray it with a base color. (I use Model Masters Medium Green on my Skaven and Vampire Counts trays so it matches my base edges. As casualties are removed, the exposed green surface also blends into the battlefield a little more.)
Paint the sand and add static grass or flock to match your army's basing scheme, and the tray is finished!
Now the Screaming Bell has a tray large enough to hold the unit pushing it into battle. The tray can also be used to hold any 20mm-based unit in the 10-wide horde formation.
'Til next time!


